How to setup your Zoom integration
Last updated November 6, 2023
Adding your Zoom Integration
You may setup your integration with Zoom, either embedded in a Rollout partner application or via rollout.com/automate
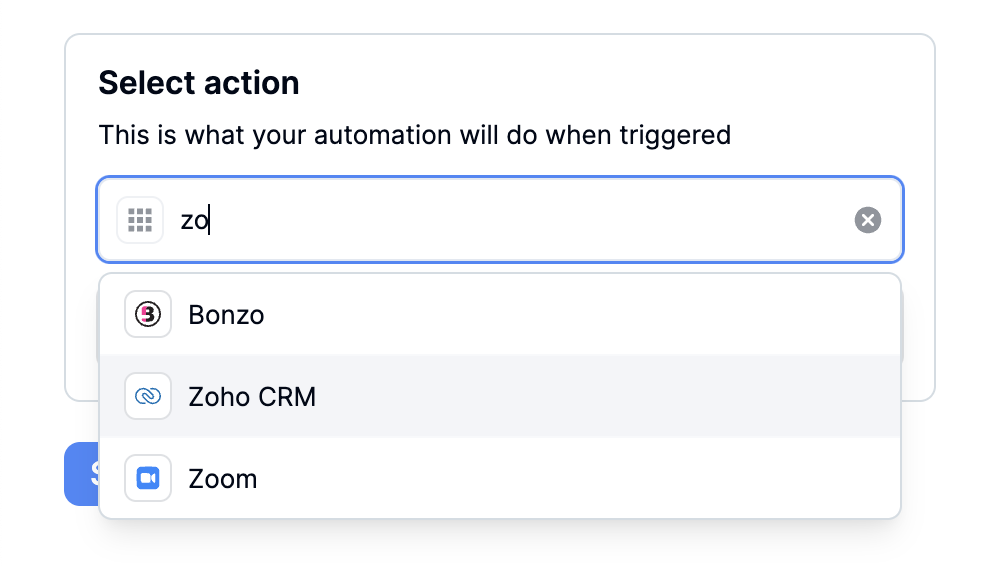
When on the page to manage and configure your Zoom integration (for example: https://automate.rollout.com/dashboard ) you will be prompted to choose an App, select Zoom from the "Select App" dropdown:

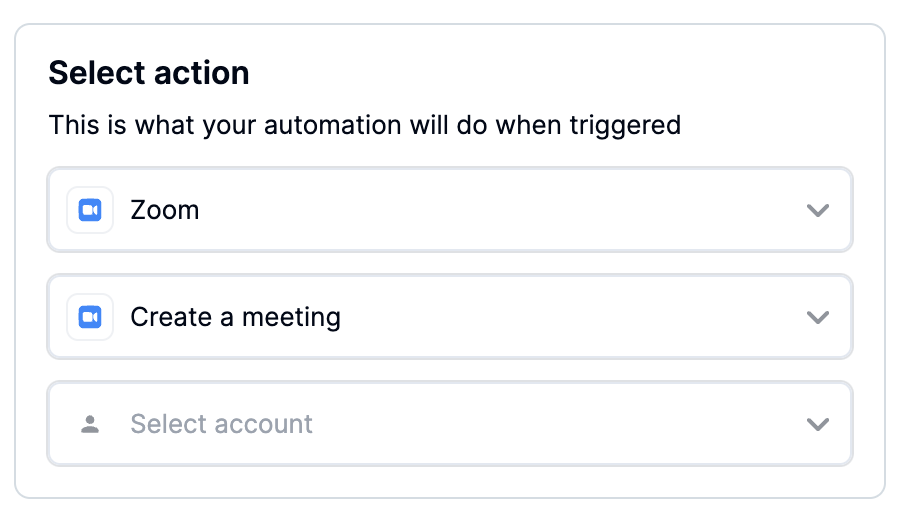
Once you've selected Zoom as your app, select your action such as "Create a Meeting"

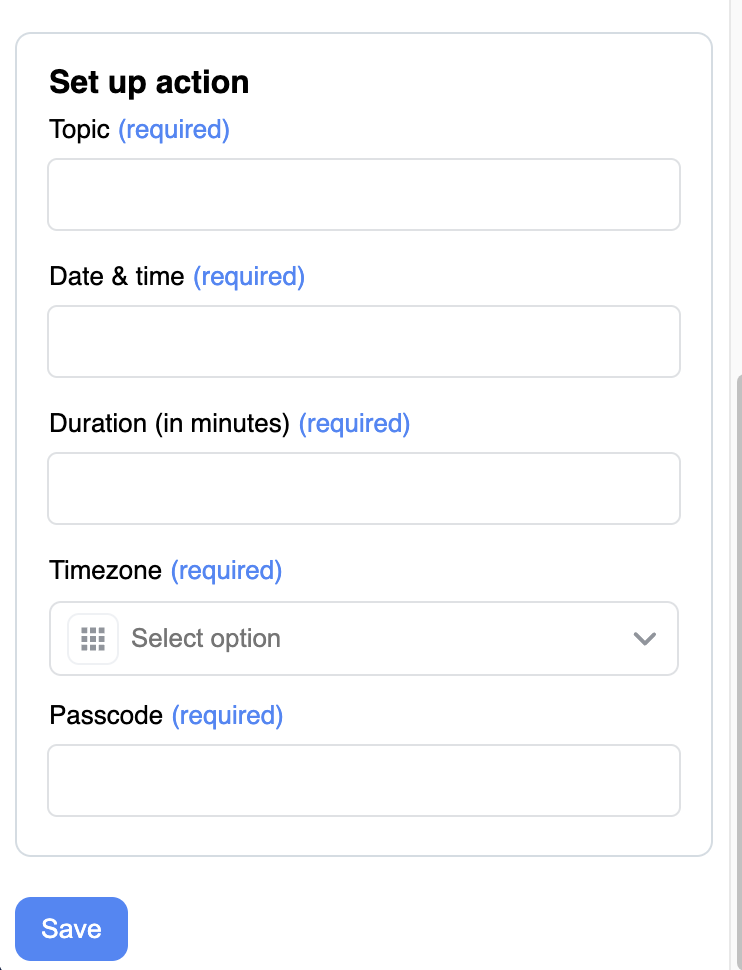
Next, you'll be prompted to select an account which will pop up a new window to Authorize Rollout to connect to your Zoom account. Once you Authorize Rollout, you will be taken back to the application to configure your automation like below:

You can configure the Topic of your meeting, set Date & Time, Duration, Timezone and add a Passcode. You can also use the @ operator to select from a list of variables to reference as part of your configuration.
From there, you can click on the Save button and you will have successfully setup your Automation with Zoom.
Using your Zoom Integration
Once you have successfully created an Automation that has a Zoom action, you simply have to trigger the automation to create a Zoom meeting. You can select any available trigger events such as when a new meeting is booked on Calendly or when a new task is added on Asana and that should trigger your automation to Create a Zoom meeting.
Removing your Zoom Integration
If you wish to disable your Zoom integration, you can toggle off your Automation on your Automations page.
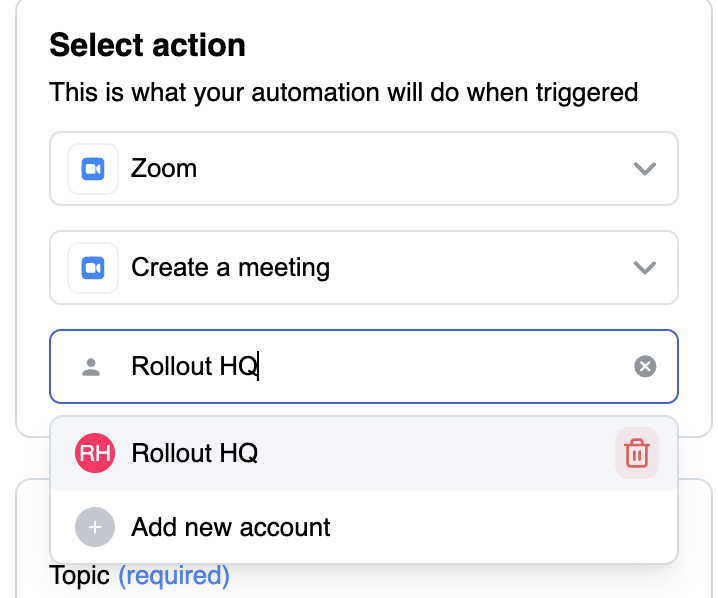
To delete your Zoom integration and remove the authorization for Rollout to access your data, in your Automation, select your Zoom account and click on the red trashcan icon on the right:

Once you have clicked the delete icon, you will be asked to confirm and once you've done that Rollout will no longer have access to your Zoom account.

